Knowing how to set up wireless lavalier microphone correctly is essential if you want clean professional audio for videos live streaming interviews or online courses. A proper setup not only improves sound quality but also helps avoid common issues such as signal drop noise or audio delay. This guide explains the setup process in a simple practical way suitable for beginners and experienced creators alike.
What is a wireless lavalier microphone
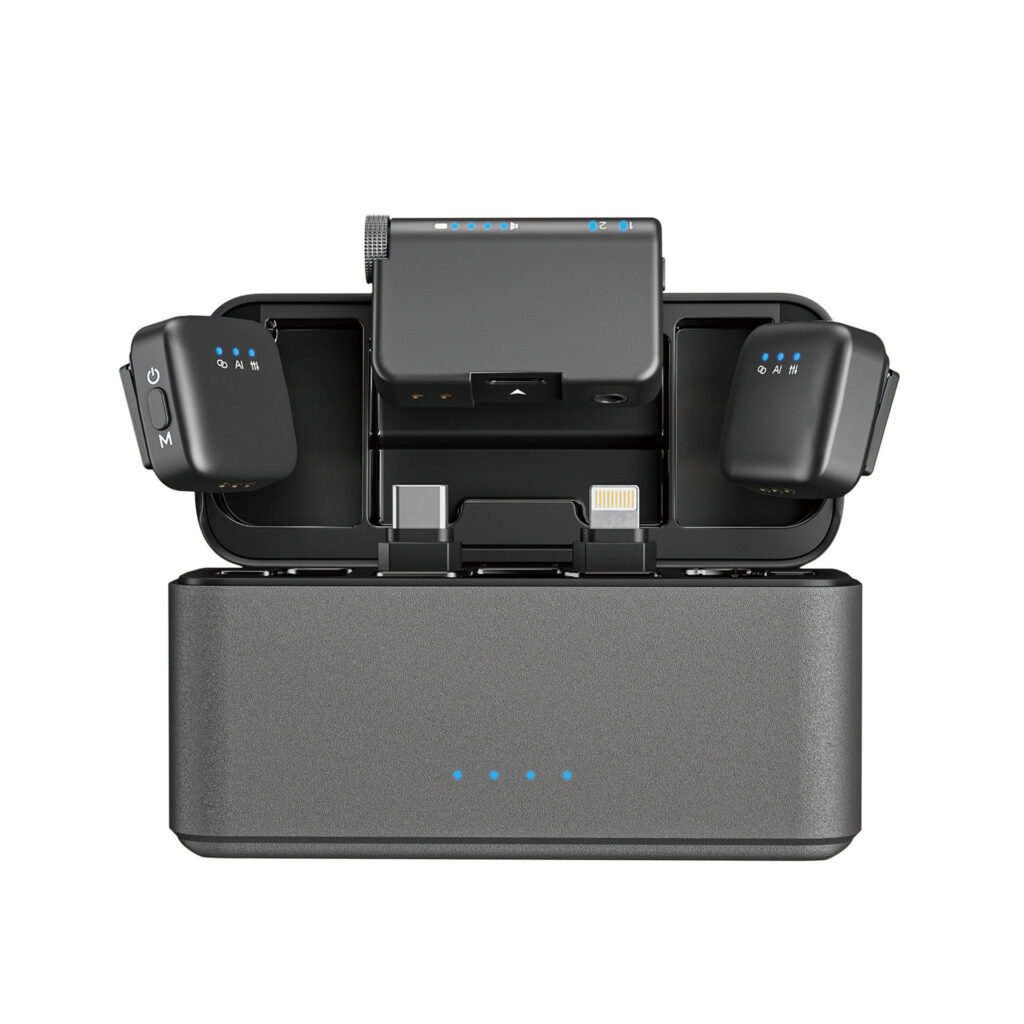
A wireless lavalier microphone is a small clip on microphone that transmits audio wirelessly to a receiver connected to your recording device. It is commonly used with smartphones cameras and DSLR systems because it allows hands free recording while keeping the microphone close to the speaker’s mouth for clear voice capture.
Step 1 Charge all components before use
Before you begin make sure the microphone transmitter receiver and charging case are fully charged. Stable power is critical for maintaining a strong wireless connection especially during long recording sessions. Many wireless lavalier systems provide several hours of continuous use once fully charged.
Step 2 Connect the receiver to your device
Plug the receiver into your recording device such as a smartphone tablet camera or DSLR. For smartphones this usually means connecting directly to the charging port. Once connected most systems are recognized automatically without additional settings.
Step 3 Power on and pair the microphone
Turn on both the transmitter and the receiver. In most modern wireless lavalier microphone systems pairing is automatic. Within a few seconds the devices will connect and be ready for use. Indicator lights or a display screen usually confirm a successful connection.
Step 4 Attach the lavalier microphone correctly
Clip or magnetically attach the lavalier microphone to clothing near the upper chest area. This position provides the best balance between natural voice pickup and reduced background noise. Avoid placing the microphone too close to the neck or too far down the chest as this may affect clarity.
Step 5 Check audio levels and monitoring
Speak normally and observe the audio level indicators on the receiver or recording device. Adjust the gain or volume if your system allows it. This step is important to prevent distortion or overly quiet recordings especially in different environments.
Step 6 Test in real recording conditions
Before starting your main recording do a short test in the actual environment. Walk move and speak at different volumes to ensure the wireless signal remains stable and the sound stays clear. This is especially important for outdoor filming live streaming or interview setups.
Tips for better wireless lavalier performance
Keep a clear line of sight between the transmitter and receiver whenever possible
Avoid placing the transmitter under thick clothing that may block the signal
Use wind protection accessories when recording outdoors
Monitor battery levels during long sessions
Stay within the recommended transmission range
Common use cases
Understanding how to set up wireless lavalier microphone is useful for many scenarios
1:Video recording for social media and content creation
2:Live streaming and online presentations
3:Interviews meetings and conferences
4:Online teaching and course recording
5:Mobile filming with smartphones and cameras
Why proper setup matters
A wireless lavalier microphone can deliver excellent audio quality but only if it is set up correctly. Proper positioning pairing and level adjustment ensure clear voice reproduction reduced background noise and professional sounding results. This directly improves viewer engagement and content credibility.
If you are looking for a reliable wireless lavalier microphone designed for easy setup and professional use you can explore this product here
https://fengmang-tech.com/product/lavalier-microphone-for-iphone-android-strka02/
By following these steps you will know exactly how to set up wireless lavalier microphone and achieve consistent high quality audio for any recording situation.